> ## Documentation Index
> Fetch the complete documentation index at: https://docs.tryflowy.ai/llms.txt
> Use this file to discover all available pages before exploring further.
# Nodes Overview
> How nodes work: anatomy, connections, running generations, and the add-node menu.
export const DemoVideo = ({src, poster, caption, aspectRatio = "16 / 10", className = ""}) => {
return
{caption &&
{caption}
}
;
};
Nodes are the building blocks of the canvas. Each one holds a piece of content — a prompt, an image, a clip, a sound — and you wire them together so one node's output becomes the next node's input.
## Node anatomy
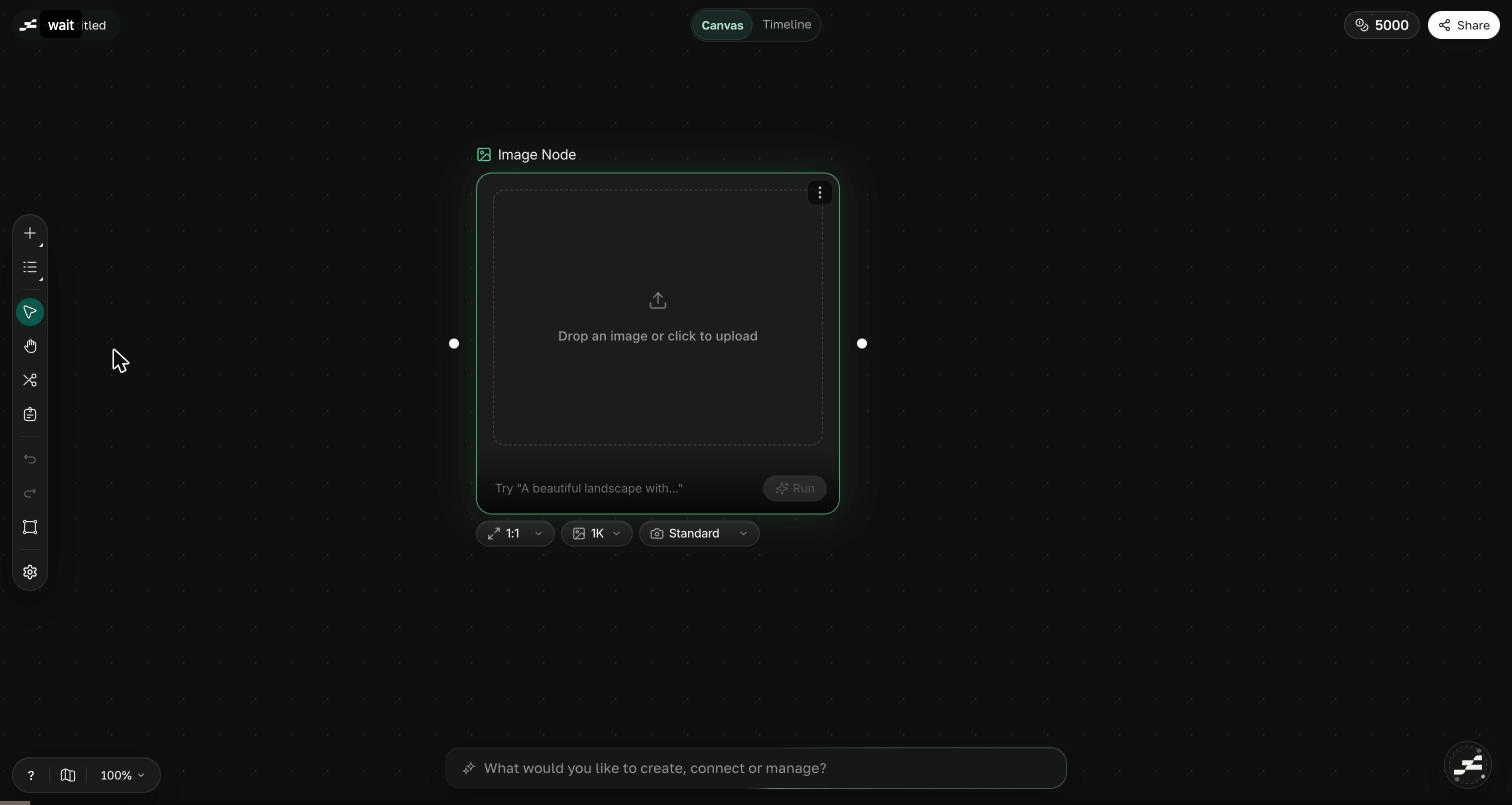
Every node shares the same shape: a **header** with the type icon and name, the **content area** where the result appears, **connection handles** on the left (input) and right (output) edges, and a **prompt bar** with a **Run** button at the bottom. The **⋮ menu** in the top-right corner holds per-node actions, and the pills around the prompt bar hold that node's generation settings — aspect ratio, resolution, duration, and so on.
## Add a node
Click the **+** button in the left toolbar to open the add-node menu. **Generate** lists the AI node types, **Tools** lists the [image tools](/canvas/image-tools/overview), and **Libraries** holds **Upload** and **Asset Library** for bringing your own files onto the canvas. The menu is searchable, and most entries have a shortcut so you can drop a node without opening it at all:
| Node | Shortcut | Node | Shortcut |
| ------------- | ------------------------- | ----------- | ------------------------- |
| Text | ⇧T | Storyboard | ⇧S |
| Image | ⇧I | Composition | ⇧C |
| Video | ⇧V | Router | ⇧R |
| Audio | ⇧A | Model | ⇧P |
| 3D | ⇧D | Brand Kit | ⇧B |
| Flam | ⇧F | Upload | ⇧U |
| Asset Library | ⇧L | | |
## Connect nodes
Each node has an **input handle** on its left edge and an **output handle** on its right. Click and drag from an output handle to another node's input handle — a curved edge appears, and the source now feeds the target.
There's a faster way when the next node doesn't exist yet: hover a handle and a **radial menu** fans out with every node type that connection supports. Pick one, and Flowy creates the new node already wired up.
To remove a connection, select the edge and press Delete.
## Run a generation
Write a prompt in the node's prompt bar and click **Run**. The node shows its progress, and when the generation finishes the result appears in the content area — the node is auto-named from your prompt so your canvas stays readable.
## How outputs feed inputs
Connections are how context flows. Everything wired into a node becomes material for its next run: connect **Text → Image** and the text drives the image prompt; connect **Image → Video** and the image conditions the clip; connect **Audio → Composition** and the sound lands on the timeline. Each node type accepts specific inputs and produces specific outputs — the radial menu only ever offers compatible types, so you can't wire something a node can't use.
## Node types
Prompts, scripts, and notes that feed every other node.
Generate stills up to 4K, with references and photobooth mode.
AI video clips with two engines: Default and Compose.
Sound effects, music, and voiceover from a prompt.
3D models from images and text, with a built-in orbit viewer.
SVG graphics — generate from text or vectorize an image.
Alpha-channel motion clips you can composite over anything.
Scene-by-scene plans with a story bible, fanned out to nodes.
A layered timeline inside the canvas that opens in Studio.
Router, Group, Sticky Note, Brand Kit, and Model nodes.
Not sure which node to start with? Ask the [AI assistant](/canvas/ai/overview) to plan and add nodes for you.
 ## Add a node
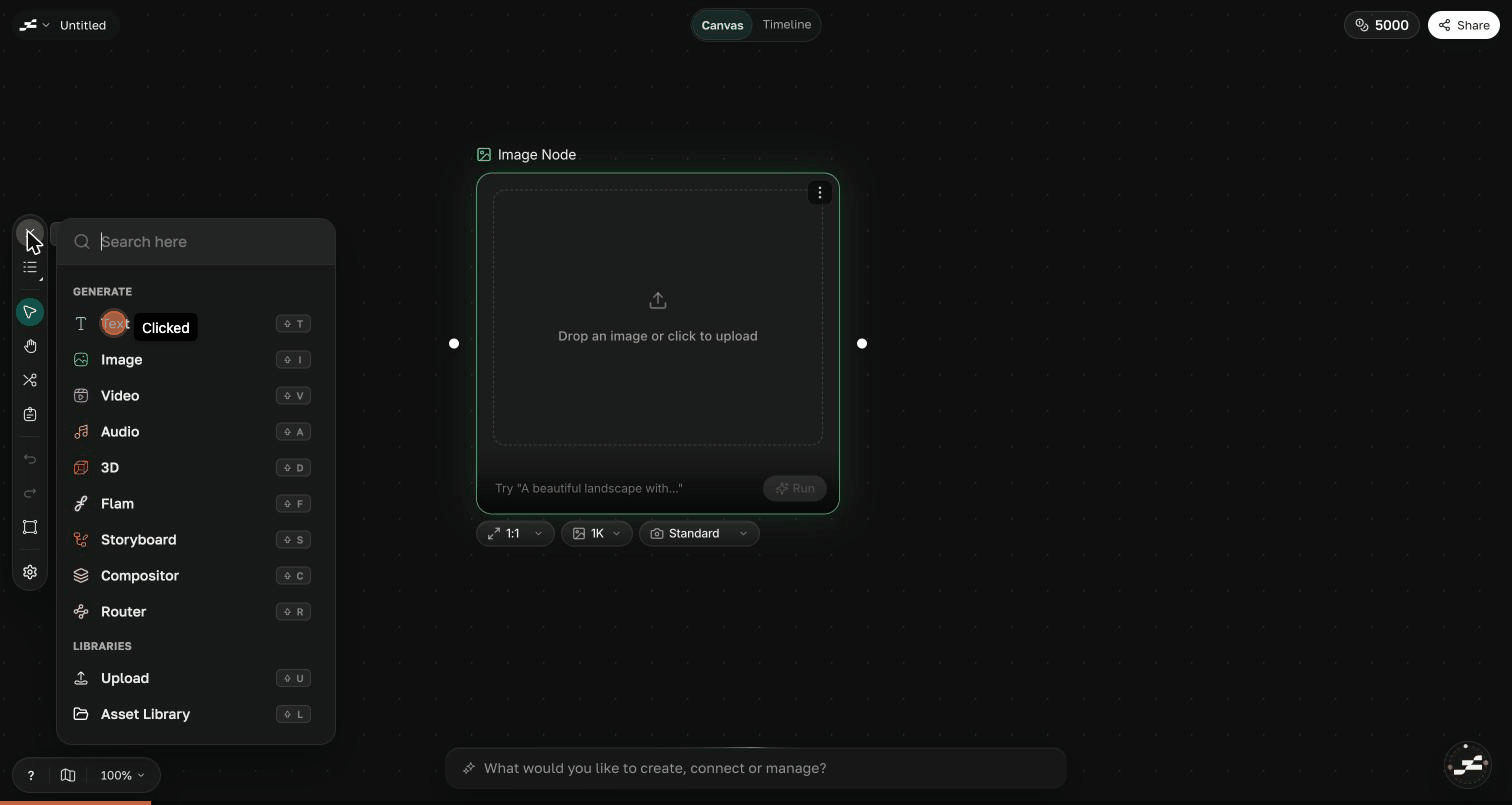
Click the **+** button in the left toolbar to open the add-node menu. **Generate** lists the AI node types, **Tools** lists the [image tools](/canvas/image-tools/overview), and **Libraries** holds **Upload** and **Asset Library** for bringing your own files onto the canvas. The menu is searchable, and most entries have a shortcut so you can drop a node without opening it at all:
| Node | Shortcut | Node | Shortcut |
| ------------- | ------------------------- | ----------- | ------------------------- |
| Text | ⇧ T | Storyboard | ⇧ S |
| Image | ⇧ I | Composition | ⇧ C |
| Video | ⇧ V | Router | ⇧ R |
| Audio | ⇧ A | Model | ⇧ P |
| 3D | ⇧ D | Brand Kit | ⇧ B |
| Flam | ⇧ F | Upload | ⇧ U |
| Asset Library | ⇧ L | | |
## Add a node
Click the **+** button in the left toolbar to open the add-node menu. **Generate** lists the AI node types, **Tools** lists the [image tools](/canvas/image-tools/overview), and **Libraries** holds **Upload** and **Asset Library** for bringing your own files onto the canvas. The menu is searchable, and most entries have a shortcut so you can drop a node without opening it at all:
| Node | Shortcut | Node | Shortcut |
| ------------- | ------------------------- | ----------- | ------------------------- |
| Text | ⇧ T | Storyboard | ⇧ S |
| Image | ⇧ I | Composition | ⇧ C |
| Video | ⇧ V | Router | ⇧ R |
| Audio | ⇧ A | Model | ⇧ P |
| 3D | ⇧ D | Brand Kit | ⇧ B |
| Flam | ⇧ F | Upload | ⇧ U |
| Asset Library | ⇧ L | | |
 ## Connect nodes
Each node has an **input handle** on its left edge and an **output handle** on its right. Click and drag from an output handle to another node's input handle — a curved edge appears, and the source now feeds the target.
## Connect nodes
Each node has an **input handle** on its left edge and an **output handle** on its right. Click and drag from an output handle to another node's input handle — a curved edge appears, and the source now feeds the target.
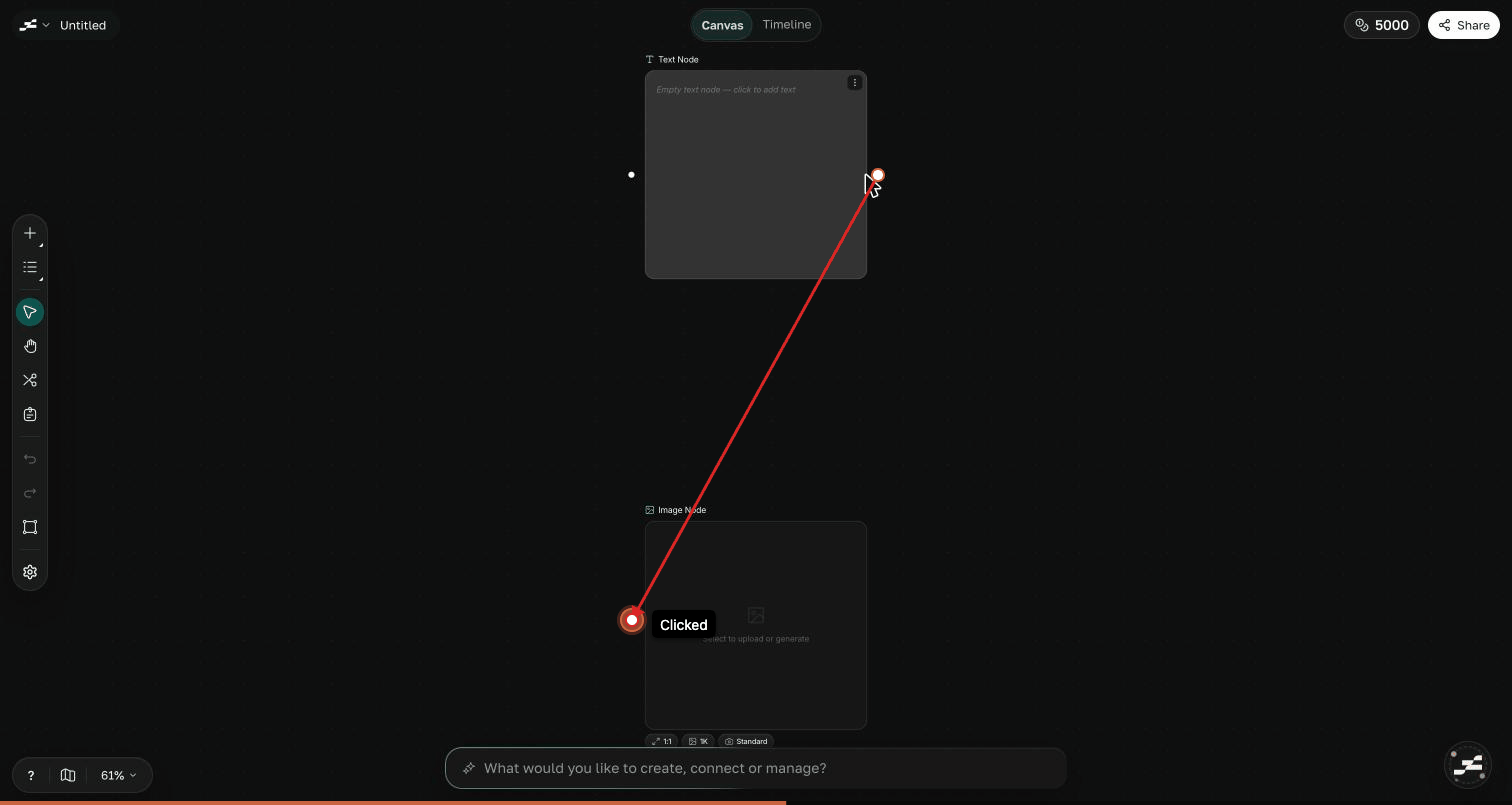 There's a faster way when the next node doesn't exist yet: hover a handle and a **radial menu** fans out with every node type that connection supports. Pick one, and Flowy creates the new node already wired up.
To remove a connection, select the edge and press Delete.
## Run a generation
Write a prompt in the node's prompt bar and click **Run**. The node shows its progress, and when the generation finishes the result appears in the content area — the node is auto-named from your prompt so your canvas stays readable.
## How outputs feed inputs
Connections are how context flows. Everything wired into a node becomes material for its next run: connect **Text → Image** and the text drives the image prompt; connect **Image → Video** and the image conditions the clip; connect **Audio → Composition** and the sound lands on the timeline. Each node type accepts specific inputs and produces specific outputs — the radial menu only ever offers compatible types, so you can't wire something a node can't use.
## Node types
There's a faster way when the next node doesn't exist yet: hover a handle and a **radial menu** fans out with every node type that connection supports. Pick one, and Flowy creates the new node already wired up.
To remove a connection, select the edge and press Delete.
## Run a generation
Write a prompt in the node's prompt bar and click **Run**. The node shows its progress, and when the generation finishes the result appears in the content area — the node is auto-named from your prompt so your canvas stays readable.
## How outputs feed inputs
Connections are how context flows. Everything wired into a node becomes material for its next run: connect **Text → Image** and the text drives the image prompt; connect **Image → Video** and the image conditions the clip; connect **Audio → Composition** and the sound lands on the timeline. Each node type accepts specific inputs and produces specific outputs — the radial menu only ever offers compatible types, so you can't wire something a node can't use.
## Node types